Cheesy Taco Sticks Recipe – The best in 40m
Cheesy Taco Sticks: A Flavorful Twist on a Classic Favorite
Table of Contents
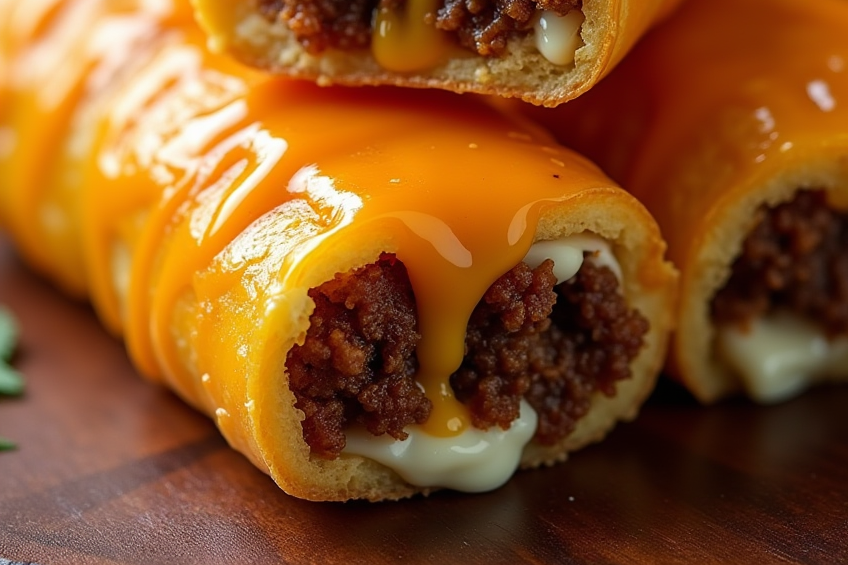
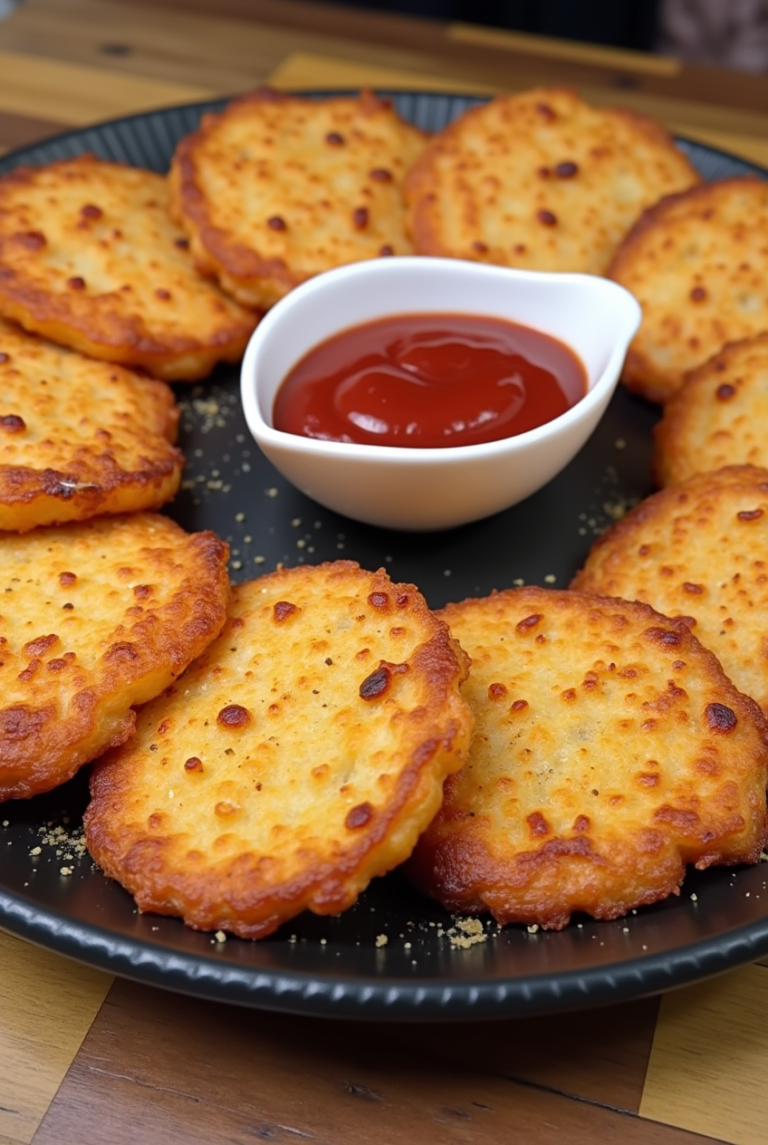
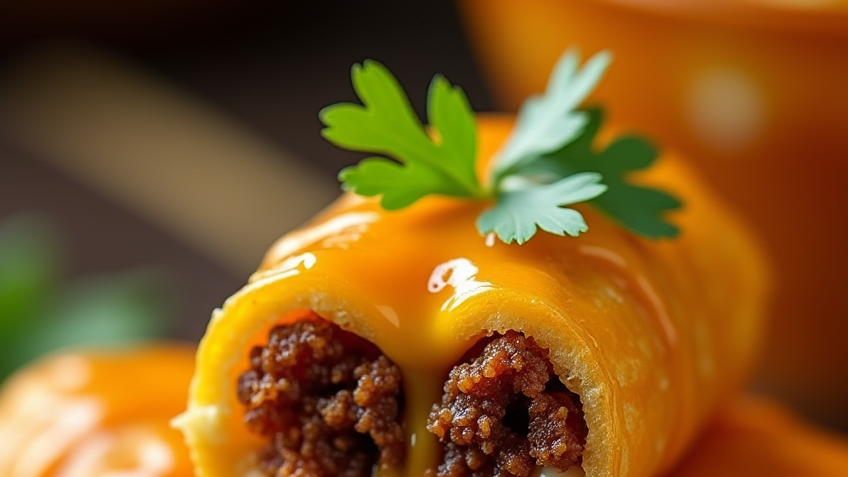
When it comes to delicious snacks and appetizers, Cheesy Taco Sticks are a surefire hit. Combining the bold flavors of tacos with the gooey goodness of melted cheese, these savory sticks are perfect for parties, game days, or a cozy family dinner. In this article, we’ll explore everything you need to know to make these mouthwatering cheesy treats, including key ingredients and their roles, preparation time, step-by-step cooking instructions with expert tips, presentation ideas, creative twists, a pro tip for customization, and frequently asked questions.
Key Ingredients and Their Roles
- Ground Beef or Turkey: This forms the protein base of the dish, providing a hearty and satisfying filling. It can also be substituted with plant-based meat for a vegetarian option.
- Taco Seasoning: This spice blend adds the classic taco flavor profile, including spices like chili powder, cumin, garlic powder, and paprika. You can use store-bought seasoning or make your own for a personalized touch.
- Cheese: The star of the show! Shredded cheese, such as cheddar or Mexican blend, provides creaminess and helps bind the filling together. It also creates that delightful gooey texture when melted.
- Flour Tortillas: These serve as the wrapping for the cheesy filling, giving structure to the sticks. They’re easy to handle and cook quickly, ensuring a satisfying bite.
- Sour Cream: Used as a dip or a topping, sour cream adds creaminess and tang, balancing the bold flavors of the taco filling.
- Salsa: A flavorful addition that can be served on the side for dipping. Salsa enhances the overall flavor experience and adds a refreshing contrast.
Preparation Time
- Prep Time: 20 minutes
- Cook Time: 15-20 minutes
- Total Time: Approximately 40-45 minutes
Ingredients
- 1 pound ground beef or turkey
- 1 packet taco seasoning (or homemade)
- 1 cup shredded cheese (cheddar or Mexican blend)
- 4 large flour tortillas
- ½ cup sour cream (for serving)
- ½ cup salsa (for serving)
- Cooking oil (for frying or baking)
- Optional toppings: chopped cilantro, sliced jalapeños, diced tomatoes
Step-by-Step Cooking Instructions
Step 1: Prepare the Taco Filling
In a large skillet, heat a splash of cooking oil over medium heat. Add the ground beef or turkey and cook until browned, breaking it apart with a spatula. Drain any excess grease.
Once the meat is cooked through, sprinkle the taco seasoning over the meat. Stir well to combine, and add a splash of water if necessary to help the seasoning adhere. Cook for an additional 2-3 minutes until the seasoning is well blended and aromatic. Remove from heat and let the filling cool slightly.
Step 2: Add the Cheese
Once the meat mixture has cooled a bit, add the shredded cheese and stir until it is melted and combined with the meat. This cheesy filling will be the heart of your Cheesy Taco Sticks.
Step 3: Prepare the Tortillas
Lay out the flour tortillas on a clean surface. If they are stiff, warm them in the microwave for about 10-15 seconds to make them pliable. This will make it easier to roll and fold the tortillas without tearing them.
Step 4: Fill the Tortillas
Spoon an even amount of the cheesy taco filling onto the center of each tortilla. Aim for about ¼ to ½ cup of filling, depending on the size of your tortillas. Be careful not to overfill, as this can make rolling them difficult.
Step 5: Roll the Tortillas
Starting from one end, carefully roll the tortilla tightly around the filling. Tuck in the sides as you go to keep the filling secure. Once rolled, you can secure the ends with toothpicks if desired.
Step 6: Cook the Taco Sticks
Option 1: Frying
In a large skillet, heat enough oil to cover the bottom of the pan over medium heat. Once hot, add the rolled Cheesy Taco Sticks seam-side down. Cook for 2-3 minutes on each side, or until golden brown and crispy. Remove from the skillet and place on paper towels to drain excess oil.
Option 2: Baking
Preheat your oven to 400°F (200°C). Place the rolled Cheesy Taco Sticks seam-side down on a greased baking sheet. Lightly brush the tops with oil for a crispy finish. Bake for 15-20 minutes, or until golden brown and heated through.
Step 7: Serve
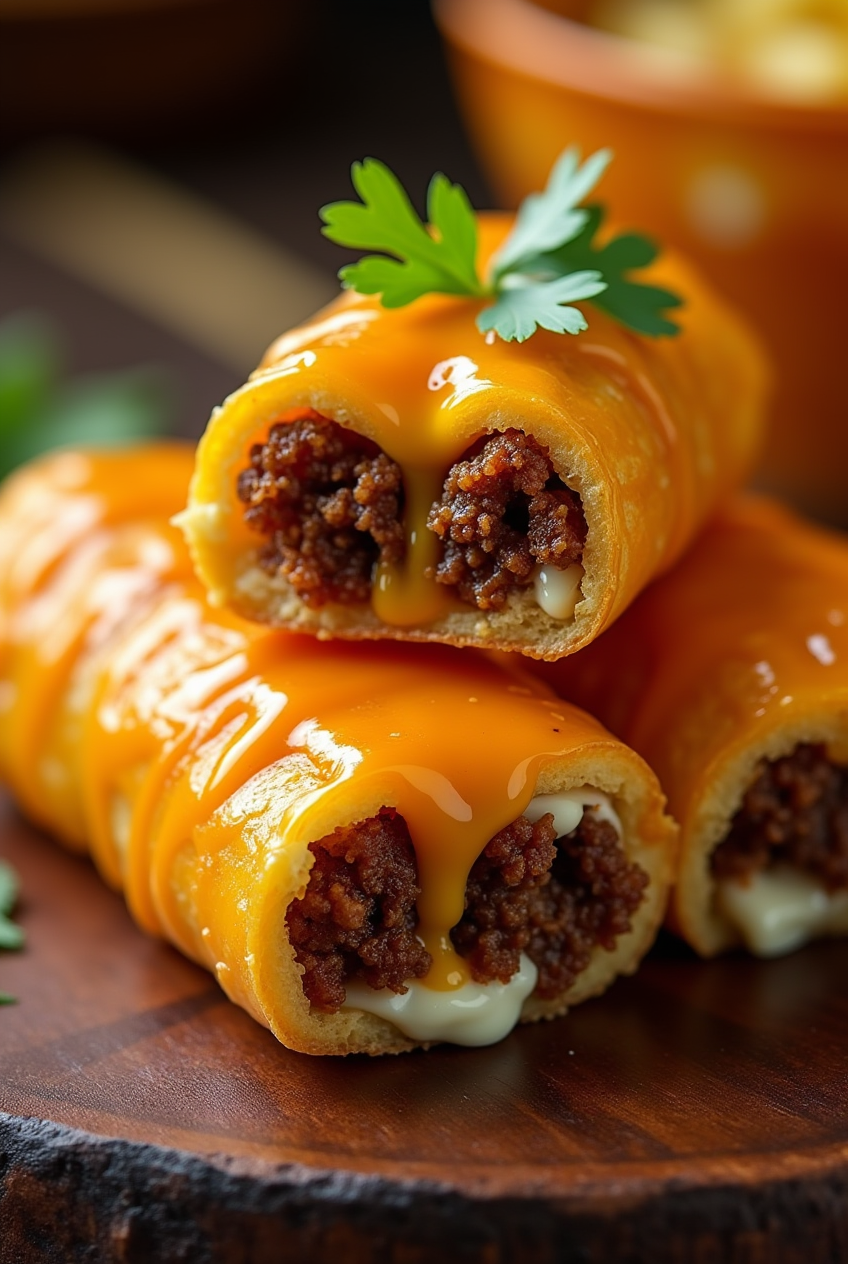
Once cooked, remove the Cheesy Taco Sticks from the heat and let them cool for a minute. Cut them into bite-sized pieces if desired, and serve with sour cream and salsa on the side for dipping. You can also garnish with chopped cilantro, sliced jalapeños, or diced tomatoes for an extra flavor boost.
Expert Tips
- Use Lean Meat: Opt for lean ground beef or turkey to reduce the grease in your filling. This will keep the Cheesy Taco Sticks lighter and healthier.
- Make Your Own Taco Seasoning: For a personal touch, create your own taco seasoning by combining chili powder, cumin, garlic powder, onion powder, paprika, and salt. This allows you to customize the flavors to your liking.
- Experiment with Cheeses: Try using different types of cheese to find your favorite combination. Pepper jack cheese adds a spicy kick, while mozzarella offers a mild, stretchy texture.
- Don’t Overfill: Overfilling the tortillas can lead to messy sticks that are difficult to handle. Stick to the recommended amount of filling for the best results.
- Keep Them Warm: If you’re making a large batch, keep the cooked Cheesy Taco Sticks warm in the oven at a low temperature (around 200°F or 90°C) until you’re ready to serve.
Presentation Tips
- Serving Platter: Arrange the Cheesy Taco Sticks on a colorful serving platter for a visually appealing presentation.
- Dipping Station: Create a mini dipping station with various toppings and dips, such as sour cream, salsa, guacamole, and hot sauce.
- Garnish: Add fresh herbs, such as cilantro or parsley, for a pop of color. Sliced jalapeños or cherry tomatoes can also be a great garnish.
Creative Twists
- Buffalo Chicken Taco Sticks: Swap the ground beef for shredded buffalo chicken for a spicy twist. Add blue cheese crumbles for extra flavor.
- Vegetarian Option: Use black beans or lentils as the base instead of meat. Add diced bell peppers and corn for added texture and flavor.
- Pizza Taco Sticks: Mix in pepperoni, marinara sauce, and mozzarella cheese to create a pizza-inspired version of Cheesy Taco Sticks.
- Breakfast Version: Incorporate scrambled eggs, breakfast sausage, and cheddar cheese for a delicious breakfast version that’s perfect for brunch.
Pro Tip for Customization
Feel free to customize the filling based on your preferences. Add ingredients like chopped onions, bell peppers, or even corn to enhance the flavor and texture of your Cheesy Taco Sticks. You can also adjust the level of spice by adding diced jalapeños or using spicy taco seasoning.
Frequently Asked Questions
1. Can I prepare Cheesy Taco Sticks ahead of time?
Yes! You can prepare the filling and roll the tortillas in advance. Store them in the refrigerator until you’re ready to cook. Just make sure to cover them to prevent them from drying out.
2. How do I store leftovers?
Store any leftover Cheesy Taco Sticks in an airtight container in the refrigerator for up to 3 days. Reheat them in the oven or microwave before serving.
3. Can I freeze Cheesy Taco Sticks?
Yes! To freeze, assemble the Cheesy Taco Sticks without cooking them. Place them on a baking sheet in the freezer until frozen, then transfer them to a freezer-safe bag. They can be frozen for up to 2 months. When ready to cook, bake them directly from frozen, adding a few extra minutes to the cooking time.
4. What can I serve with Cheesy Taco Sticks?
These delicious sticks pair well with a variety of dips, such as salsa, guacamole, and sour cream. You can also serve them alongside a fresh salad or Mexican rice for a complete meal.
5. Can I use corn tortillas instead of flour?
Yes, you can use corn tortillas for a gluten-free option. However, corn tortillas are usually less pliable than flour tortillas, so they may crack if not warmed properly.
Conclusion
Cheesy Taco Sticks are a fantastic addition to any gathering or family meal. With their cheesy, flavorful filling wrapped in a crispy tortilla, they’re sure to be a favorite among friends and family. This recipe is not only easy to make but also highly customizable, allowing you to adapt it to your taste preferences. So gather your ingredients, follow the steps outlined above, and enjoy these delightful cheesy treats!
If you like it, Leave a Comment !
There are no reviews yet. Be the first one to write one.